Infrared photos, esp. infrared portraits and landscapes, due to invisible infrared light, bring totally brand new views. These IR photos are natural without freckles and can be caught with the help of an infrared filter or a modified DSLR camera.
Ir photography shoot
As is mentioned above, a sensor infrared filter can be used to add in the front of DSLR. So it won’t cost that much to take infrared photos. However, the common problems are: First, after adding the infrared filter, blackness will fill the whole scene, since all the visible lights are blocked. So you should prepare everything well before using filter. Second, infrared photos need to shift focus slightly, as it differs from visible lights, which is also known as infrared camera conversion or infrared conversion.
A modified DSLR camera is what an experienced infrared photographer will select. It requires you to mechanically remove previous filter from the camera and replace with new infrared mirror filter. And once you’ve done with it, your camera can merely be used to shoot infrared pictures, no other normal picturesque scenery. Besides, being familiar with the mechanics of the camera is a must.
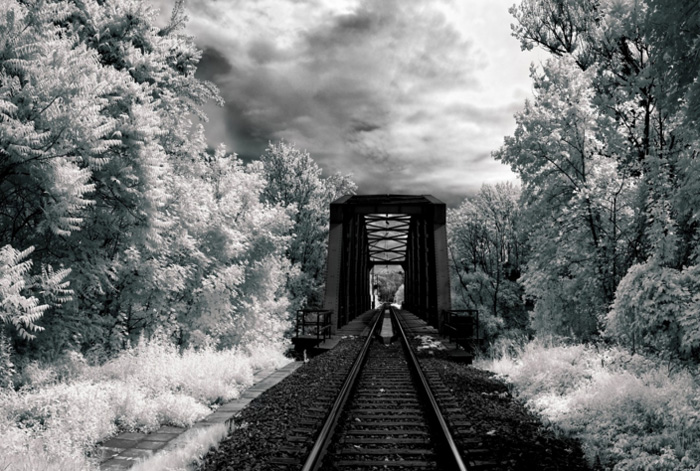
With a 720nm ir filter, you are entitled to picture a standard infrared photography or a near-infrared photography. Infrared photos don’t catch freckles, which makes it ideal to create porcelain portrait. Or eerie landscape can be shot in IR photography. Simply keep in mind that living creatures will show brighter than other objects like stone in infrared picture. Then you will know what to shoot.
A tripod for the camera, ISO sets about 300, turn on noise reduction, use f/7 aperture and long exposure shoot on somewhere with sunshine. This sentence collects all essential tips in IR photography. Use them well, it won’t fail you.
Right after taking infrared photos, you probably want to post process IR photos to make them better, either by changing the color tone or simply adding effect.
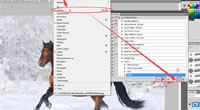
A recommend tool is Windows Photo Signature Application:
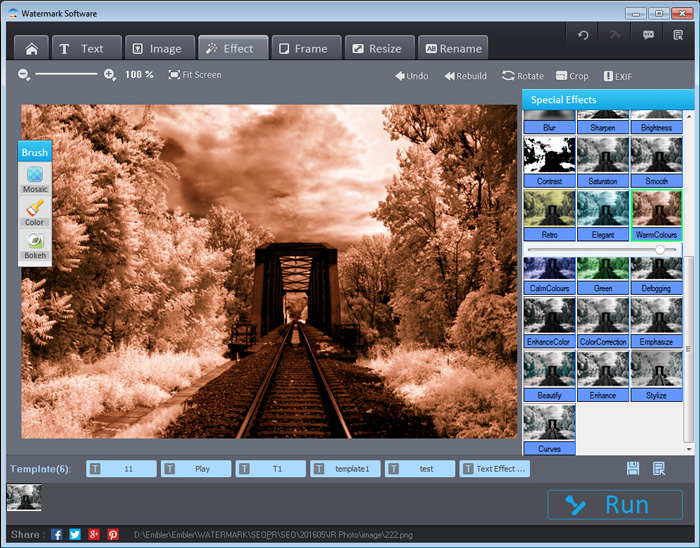
Post process infrared photo
Three steps to go in post processing:
1.Load the IR photography into Watermark Software,
2.Select "Effect" and you can choose among "WarmColours", "ColorCorrection", "Beautify" and other.
3. Run photo watermark software to output the better infrared pictures.
As you can see from the screenshots above, this application does has a number of great effects reserved. Fine tuning the effect also supports. Thrill news is that it supports free download and free trials until you are satisfied.
Besides all above points on IR photography, your experiences and practices can determine quite a few. Thinking, of course, is the most crucial element for IR photography. Thinking outside the box will help you capture the most precious infrared photo.